Hay muchas maneras de controlar la puerta del garaje con su Netduino. En este caso se modificara un mando de apertura de puerta de garaje por medio de un OPTOISOLATOR y este a su vez se conectara a nuestro netduino por medio de uan resistencia en serie. Para enviar comandos a la placa de Netduino se utilizaran simples comandos HTTP.
Componentes necesarios para el montaje
- Abrir puertas de garajes
- OPTOISOLATOR con el controlador de Darlington – 1 canal.
- Resistencia de 100 ohmios
- 33 ohmios resistencia
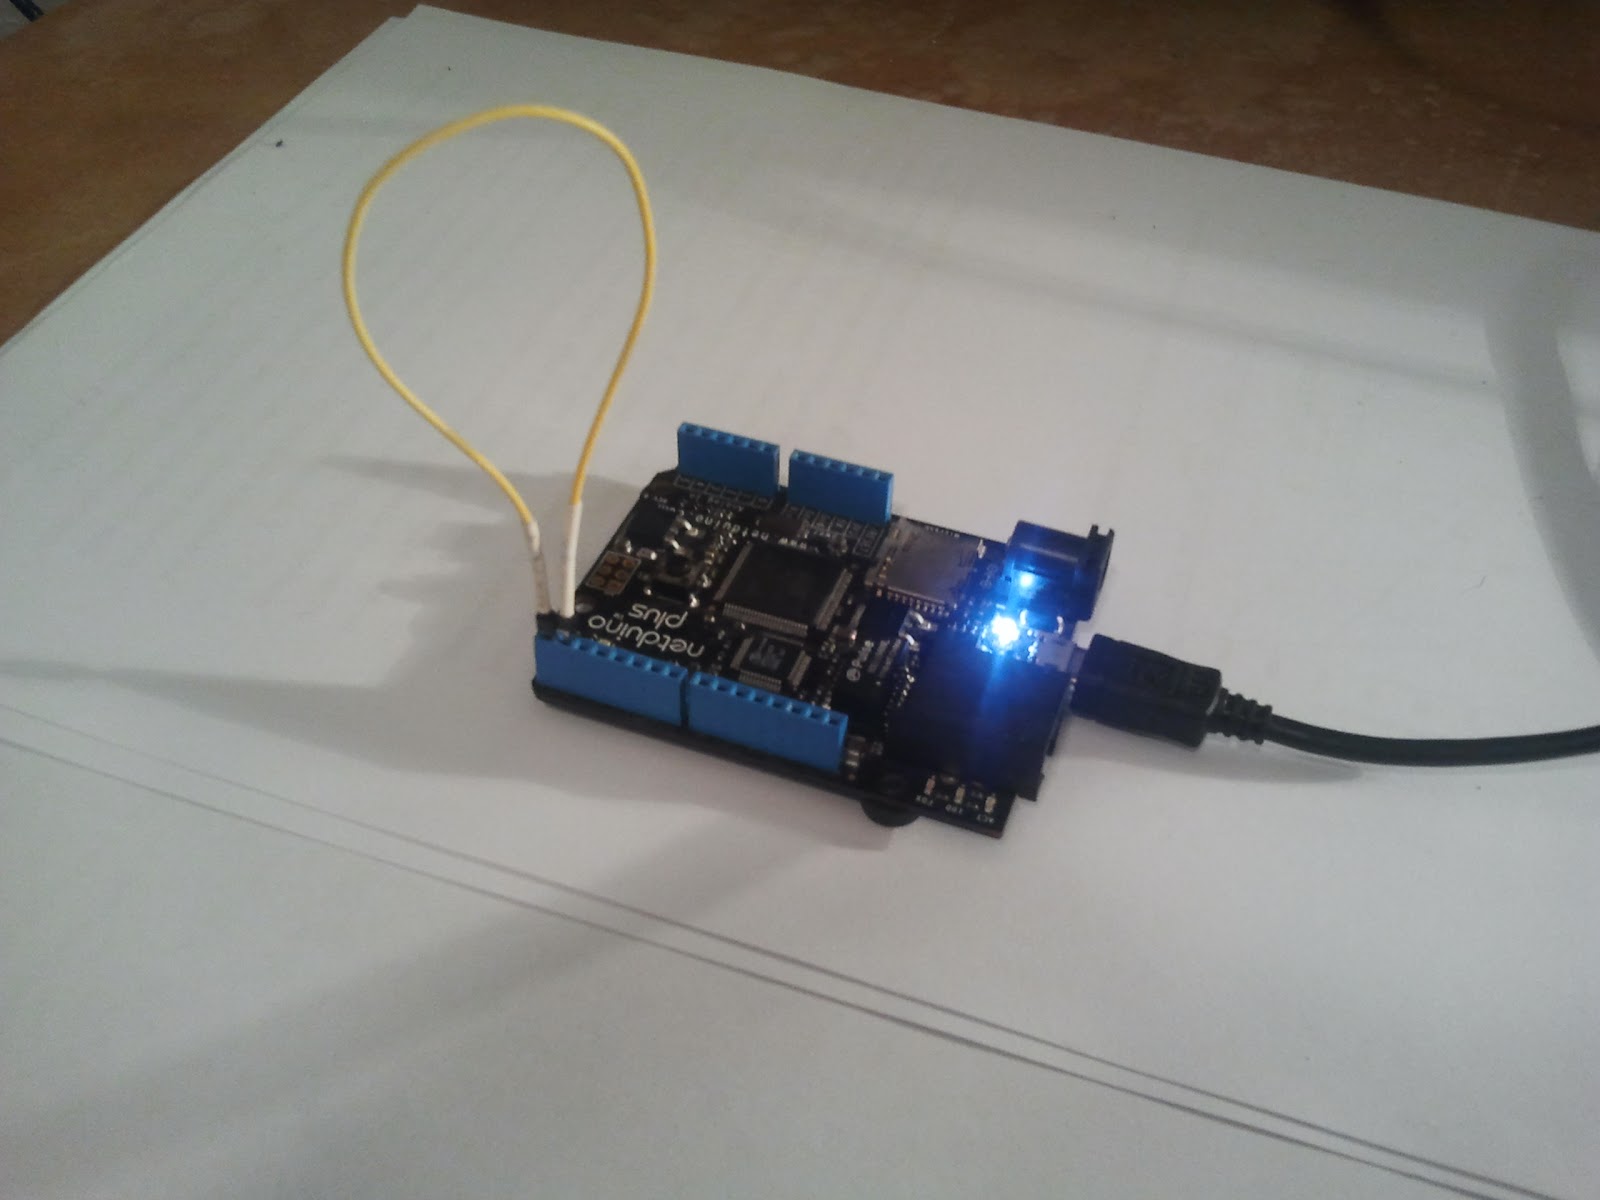
- Netduino Plus
El esquema para la conexión del netudiono con el abridor de la puerta del garaje es bastante sencillo:
- Conecte el pin OPTOISOLATOR 1 (ánodo) al pin digital plus Netduino 13
- Conecte el pin OPTOISOLATOR 2 (cátodo) a un pin de tierra en el signo más Netduino con una resistencia de 33 ohmios en línea.
- Conectar el pasador optoaislador 3 (emisor) a un lado de la puerta de garaje pulsador con una resistencia de 100 ohmios en línea.
- Conectar el pasador optoaislador 4 (colector) al otro lado de la puerta garge abridor pulsador.
Código
public class WebServer : IDisposable |
03 |
private Socket socket = null; |
04 |
//open connection to onbaord led so we can blink it with every request |
05 |
private OutputPort led = new OutputPort(Pins.ONBOARD_LED, false); |
06 |
private OutputPort Garage2CarOpener = new OutputPort(Pins.GPIO_PIN_D13,false); |
10 |
//Initialize Socket class |
11 |
socket = new Socket(AddressFamily.InterNetwork, SocketType.Stream, ProtocolType.Tcp); |
12 |
//Request and bind to an IP from DHCP server |
13 |
socket.Bind(new IPEndPoint(IPAddress.Any, 80)); |
14 |
//Debug print our IP address |
15 |
Debug.Print(Microsoft.SPOT.Net.NetworkInformation.NetworkInterface.GetAllNetworkInterfaces()[0].IPAddress); |
16 |
//Start listen for web requests |
21 |
public void ListenForRequest() |
25 |
using (Socket clientSocket = socket.Accept()) |
28 |
IPEndPoint clientIP = clientSocket.RemoteEndPoint as IPEndPoint; |
29 |
EndPoint clientEndPoint = clientSocket.RemoteEndPoint; |
30 |
//int byteCount = cSocket.Available; |
31 |
int bytesReceived = clientSocket.Available; |
32 |
if (bytesReceived > 0) |
35 |
byte[] buffer = new byte[bytesReceived]; |
36 |
int byteCount = clientSocket.Receive(buffer, bytesReceived, SocketFlags.None); |
37 |
string request = new string(Encoding.UTF8.GetChars(buffer)); |
38 |
string firstLine = request.Substring(0, request.IndexOf('\n')); //Example "GET /activatedoor HTTP/1.1" |
39 |
string[] words = firstLine.Split(' '); //Split line into words |
40 |
string command = string.Empty; |
43 |
string method = words[0]; //First word should be GET |
44 |
command = words[1].TrimStart('/'); //Second word is our command - remove the forward slash |
46 |
switch (command.ToLower()) |
51 |
string response = "I just opened or closed the garage!"; |
52 |
string header = "HTTP/1.0 200 OK\r\nContent-Type: text; charset=utf-8\r\nContent-Length: " + response.Length.ToString() +"\r\nConnection: close\r\n\r\n"; |
53 |
clientSocket.Send(Encoding.UTF8.GetBytes(header), header.Length, SocketFlags.None); |
54 |
clientSocket.Send(Encoding.UTF8.GetBytes(response), response.Length, SocketFlags.None); |
57 |
//Did not recognize command |
58 |
response = "Bad command"; |
59 |
header = "HTTP/1.0 200 OK\r\nContent-Type: text; charset=utf-8\r\nContent-Length: " + response.Length.ToString() + "\r\nConnection: close\r\n\r\n"; |
60 |
clientSocket.Send(Encoding.UTF8.GetBytes(header), header.Length, SocketFlags.None); |
61 |
clientSocket.Send(Encoding.UTF8.GetBytes(response), response.Length, SocketFlags.None); |
68 |
private void ActivateGarageDoor() |
70 |
led.Write(true); //Light on-board LED for visual cue |
71 |
Garage2CarOpener.Write(true); //"Push" garage door button |
72 |
Thread.Sleep(1000); //For 1 second |
73 |
led.Write(false); //Turn off on-board LED |
74 |
Garage2CarOpener.Write(false); //Turn off garage door button |
76 |
#region IDisposable Members |
fuente original:http://netduinohacking.blogspot.com.es/